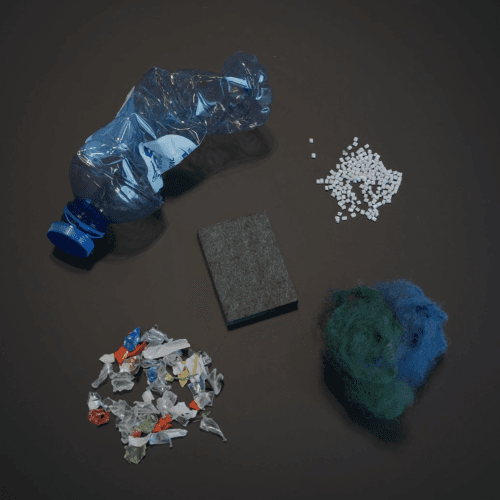
From sketch to realization: how to convert your design idea into PET felt panels
A good design starts with an idea. Sometimes it's a quick pencil sketch, sometimes a detailed 3D visualisation. But how do you turn such an initial concept into a sleek final product in felt? We guide you through the entire process: from submission to production, including best practices and common mistakes you’ll want to avoid.
1. Starting point: your sketch or design
Each project starts with your idea. It can look different in various ways:
- A handcrafted sketch
- A digital drawing, for example:
- 2D vector files: AI, DXF, DWG, SVG, PDF (vector)
- 3D CAD files: STEP
- An existing design you want to translate into PET felt
- A rough form study or inspiration image
The more concrete you deliver your starting point, the faster and more accurately we can assist. It is good to know that this process is only used for larger projects where customization and technical development truly add value.
2. Submitting Drawings: how to provide files optimally
To process your design as smoothly as possible, we recommend the following:
File formats:
- 2D vector files: AI, DXF, DWG, SVG, PDF (vector)
- 3D files: STEP
Important guidelines:
- Work preferably on one scale, for example 1:1
- Remove duplicate lines, guide lines, and hidden layers
- Add a brief explanation if necessary in the drawing
- Add a short description of what you see
- Always specify the desired final size
- Preferably submit no JPG/PNG, as we cannot cut accurately with these
A well-delivered file prevents many correction rounds and speeds up the processing time.


3. The workflow: from idea to finished product
To ensure the process runs as smoothly as possible, we follow a clear workflow.
Step 1: Reception & Technical Check
We review the submitted files and assess whether they are suitable for production. Consider:
- Is the scale correct?
- Are the dimensions accurate?
- Are the lines closed?
- Are all shapes clearly defined?
- Is the design technically feasible in acoustic felt?
Is anything unclear? Then we will contact you first before proceeding.
Step 2: Digitising & Optimising Cutting Files
Based on your design, we prepare a production-ready drawing. In this phase, we ensure that everything is technically correct and can be produced efficiently. We pay attention to, among other things:
- Splitting the drawing into layers
Each layer has a specific function, such as cutting, engraving, or folding. This makes production clear and error-free.
- Set the correct cutting function per line
Consider V‑cut, thru‑cut, bevel‑cut or other cutting operations. This way, the machine knows exactly what needs to be done.
- Efficient nesting on the sheet material
We position all components optimally on the sheet, so that as little leftover material as possible remains. That is sustainable and cost-efficient.
- (On submission of a 3D file)
We translate the 3D model into cuttable 2D shapes and check whether all details are technically feasible.
- Checking and adding details
For example, V-cuts, face edges, or other finishes that enhance the design.
With these optimizations, we ensure that your design perfectly matches the capabilities of PET felt and that production runs smoothly and accurately.
Step 3: Production
The wool panels are being cut, inspected, and prepared for shipping or collection.
Step 4: Delivery
You will receive the final result, complete with assembly instructions or additional support.


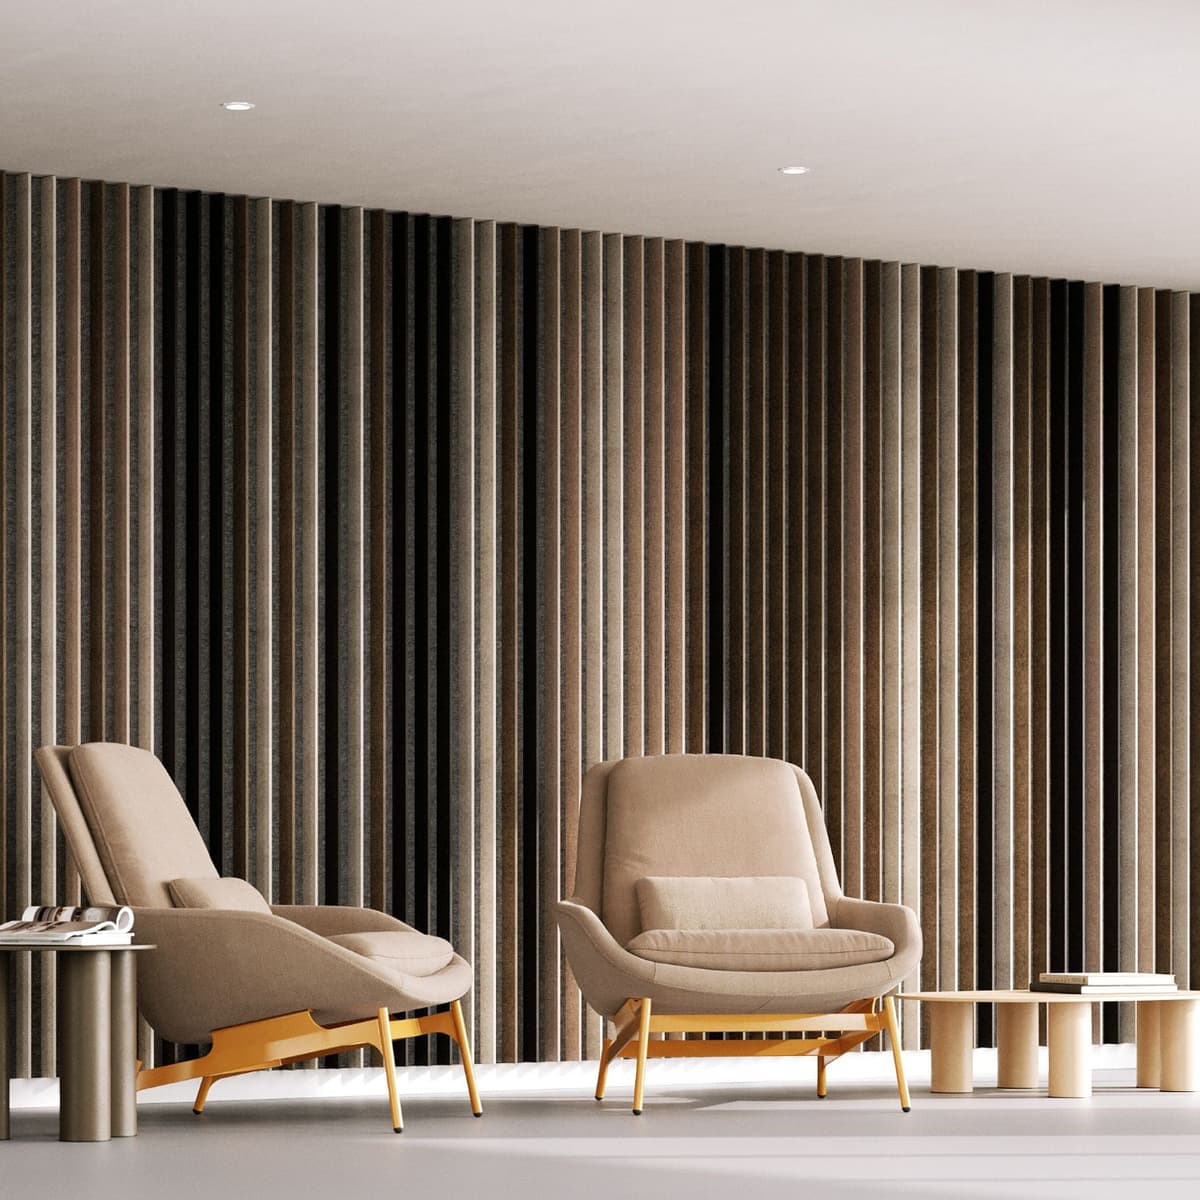
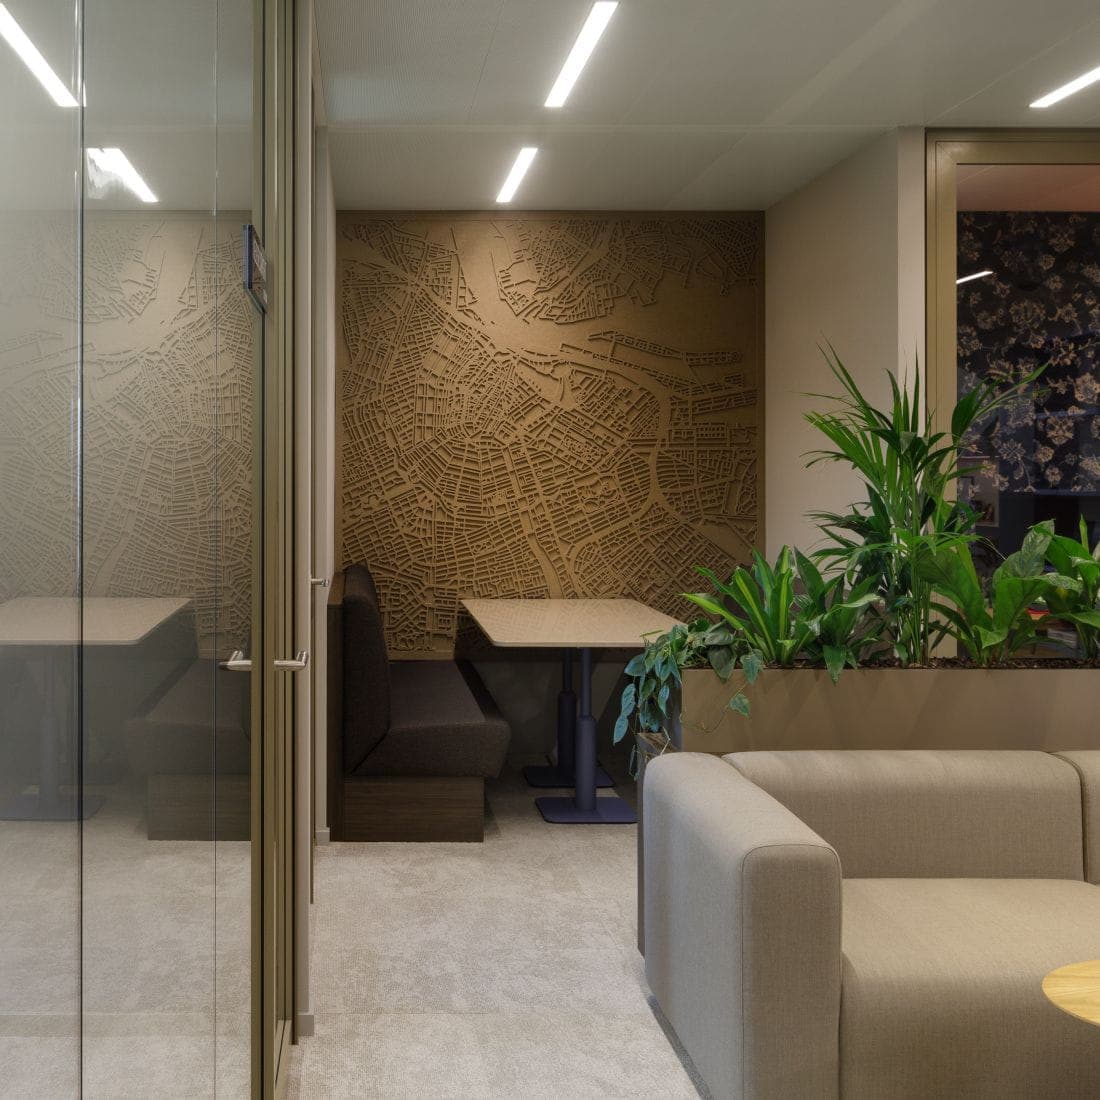
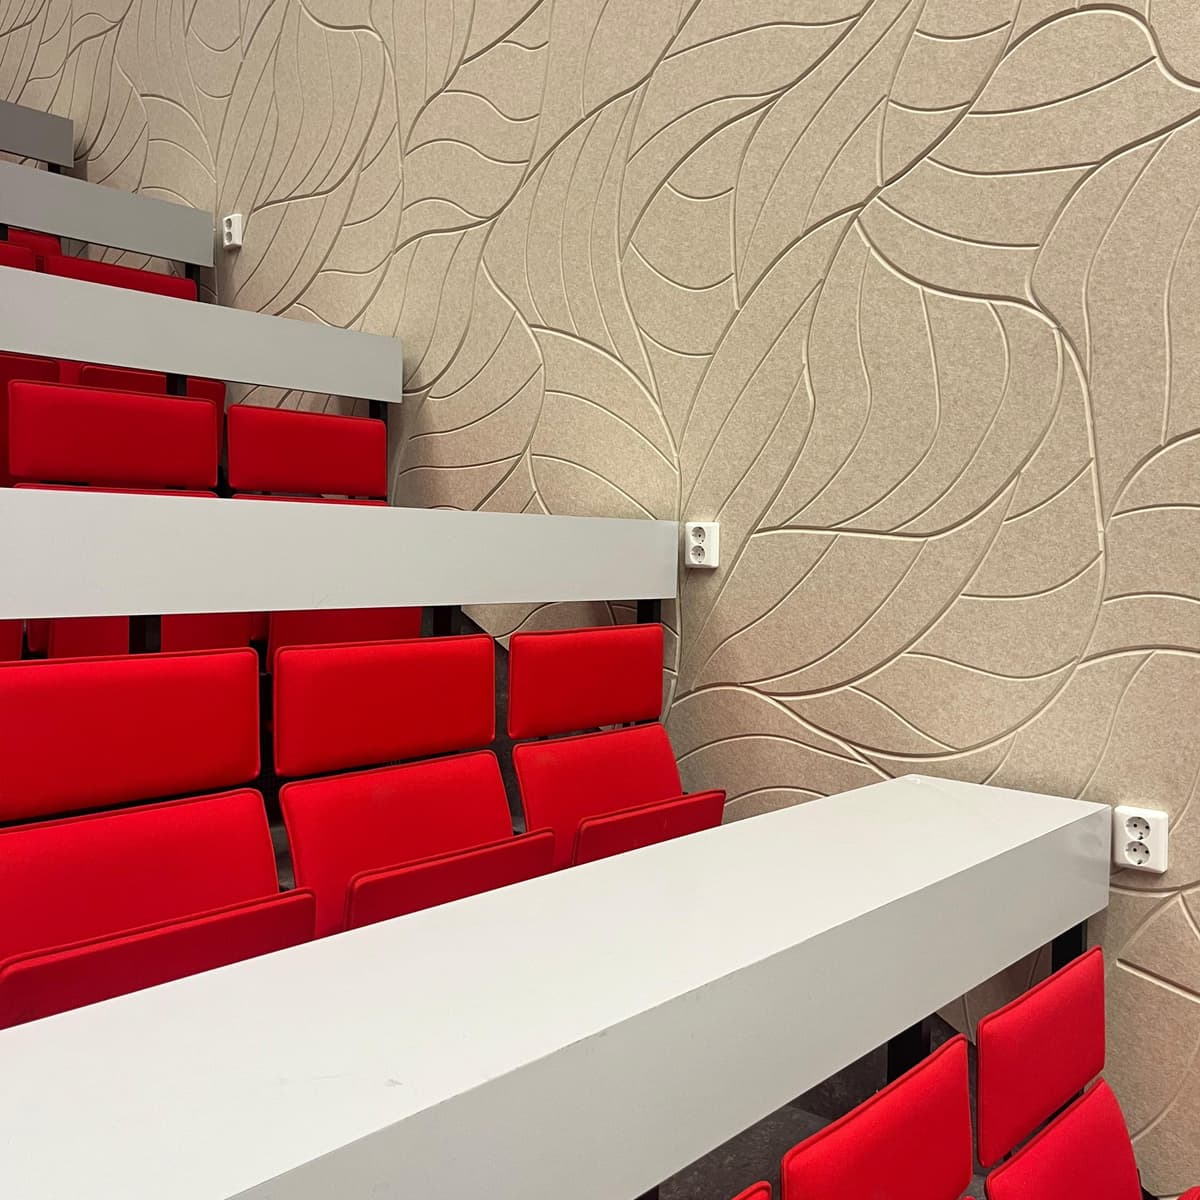
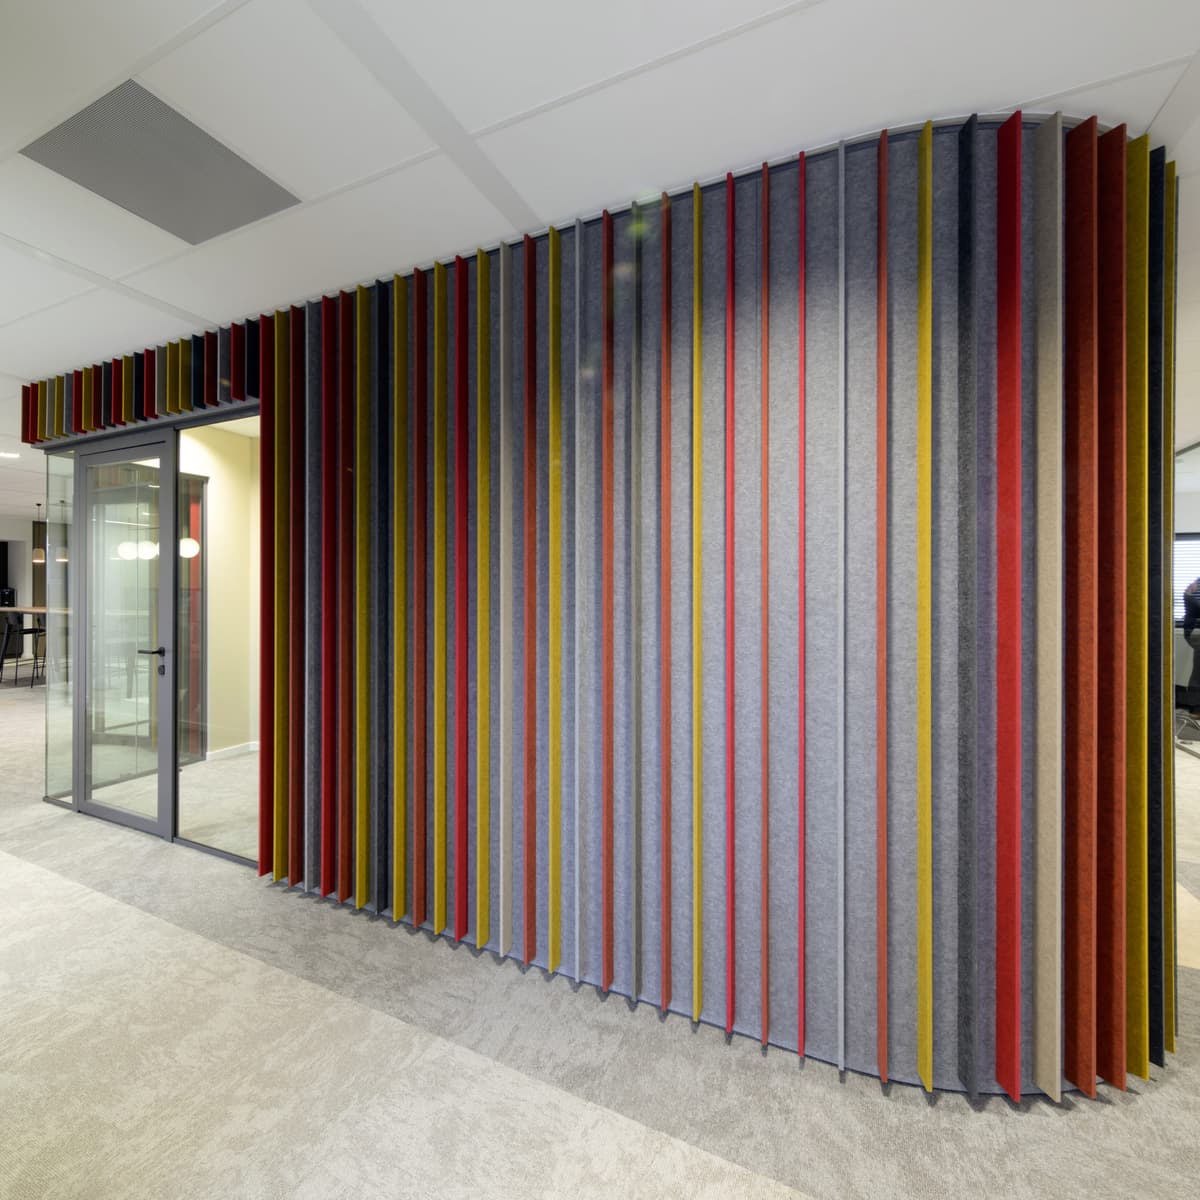
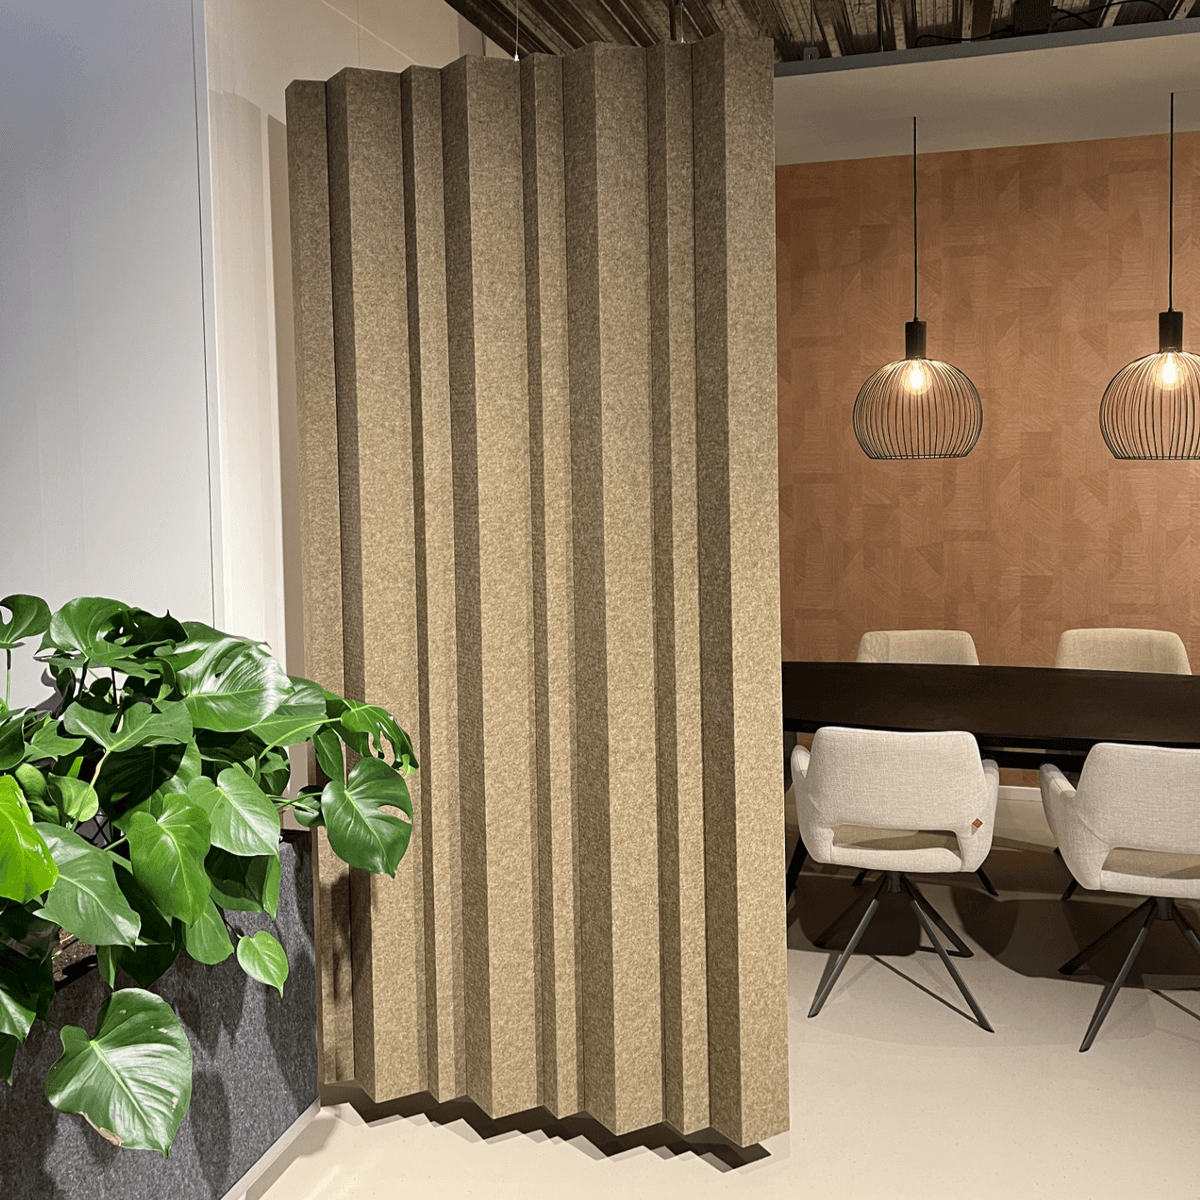
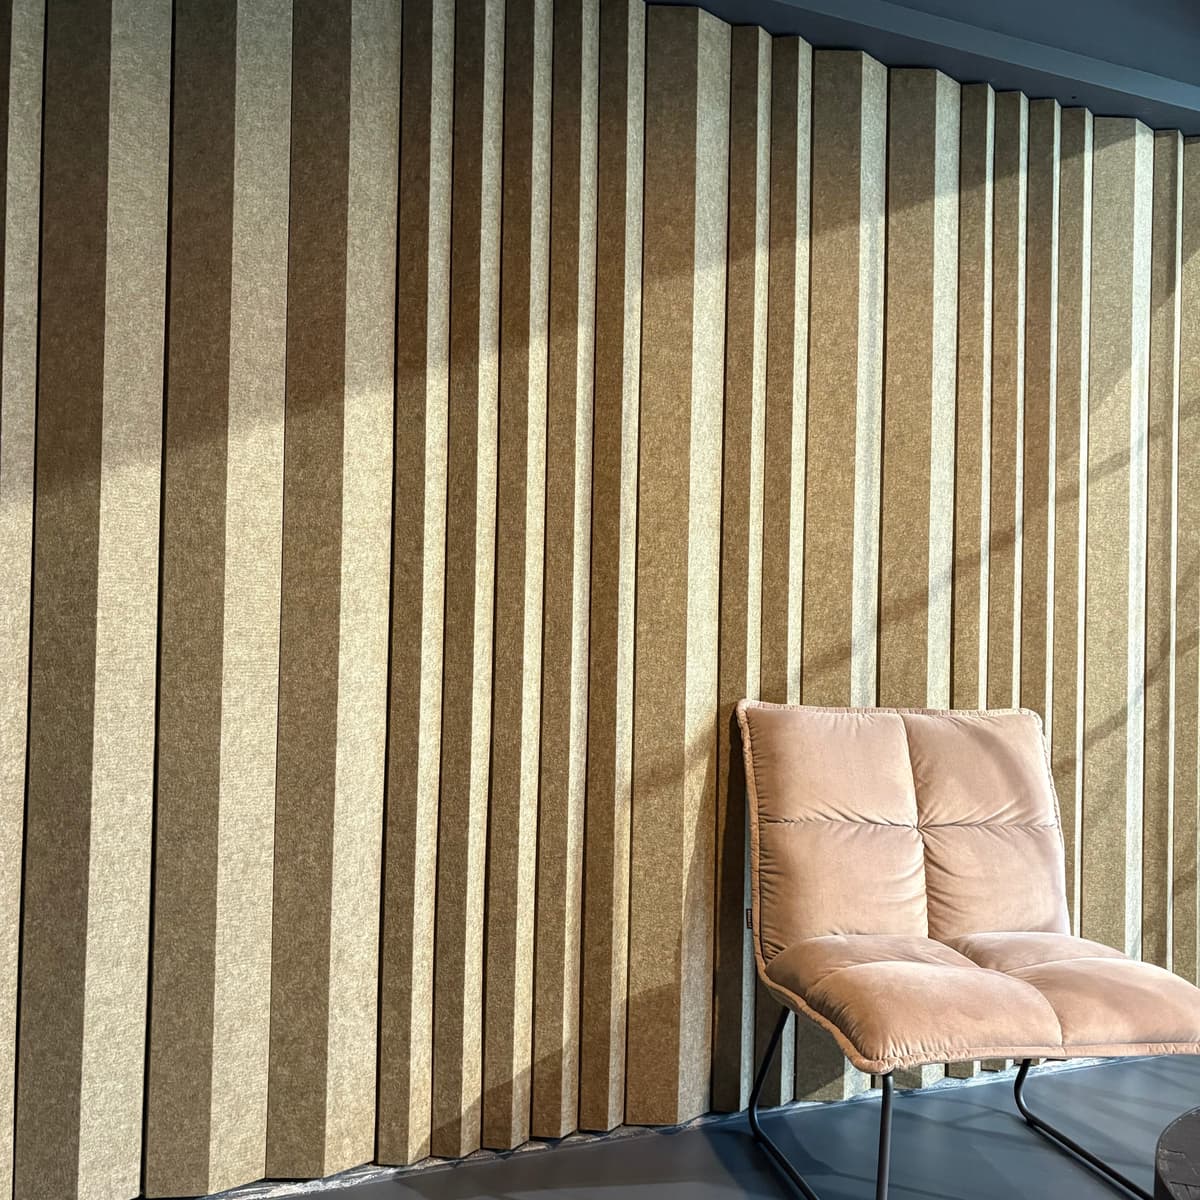
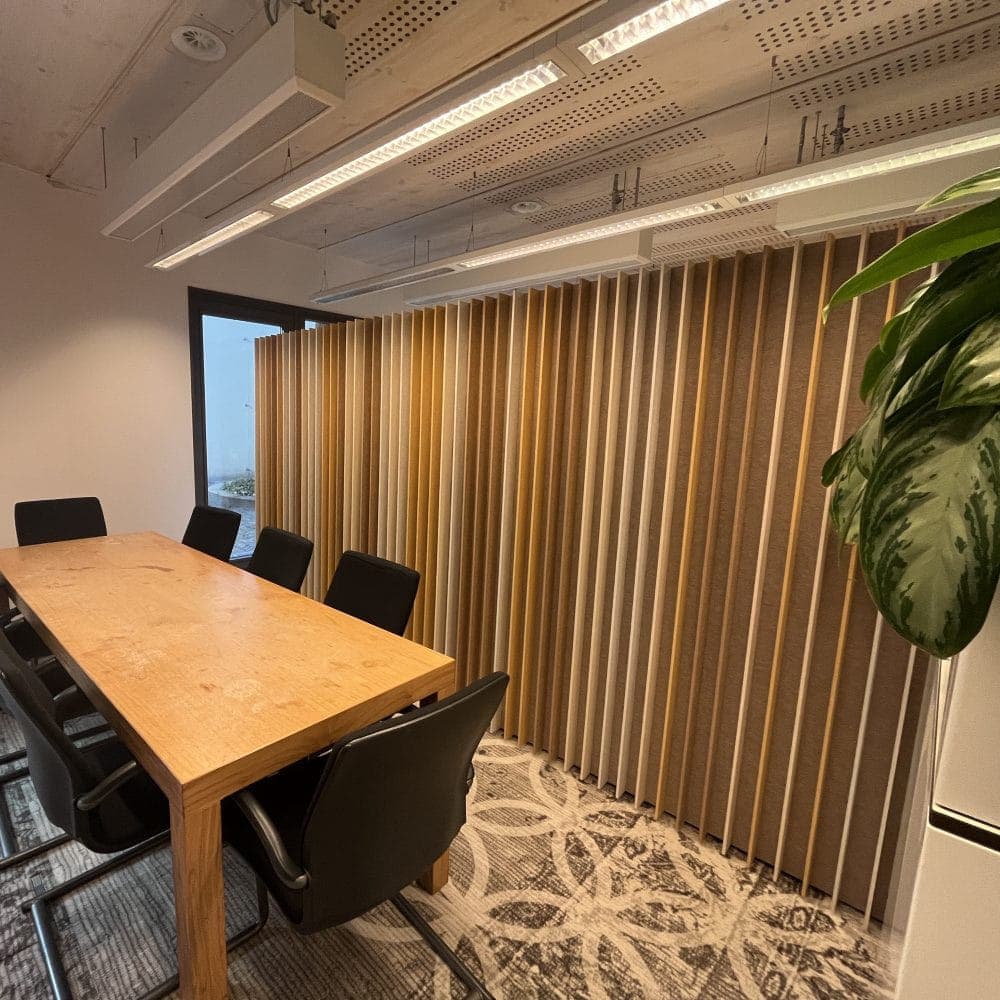
4. Best practices: how to get the most out of PET‑felt
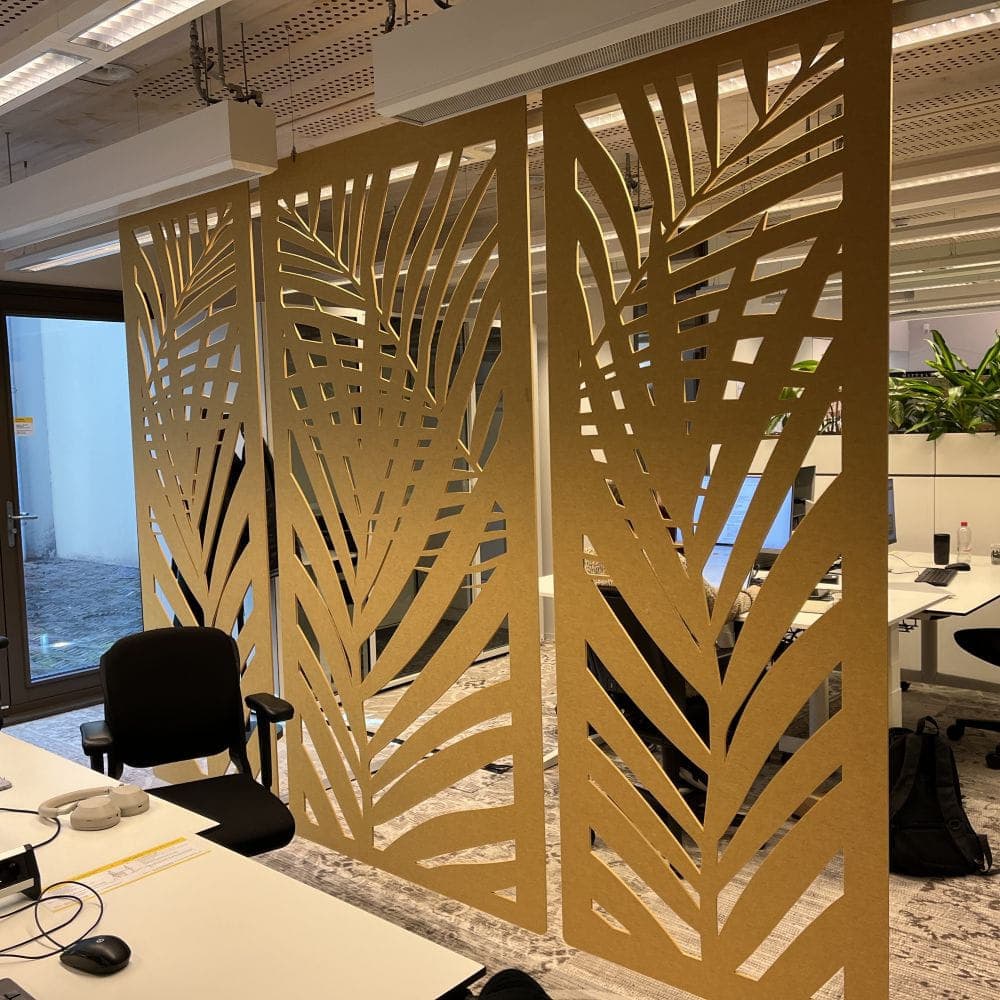
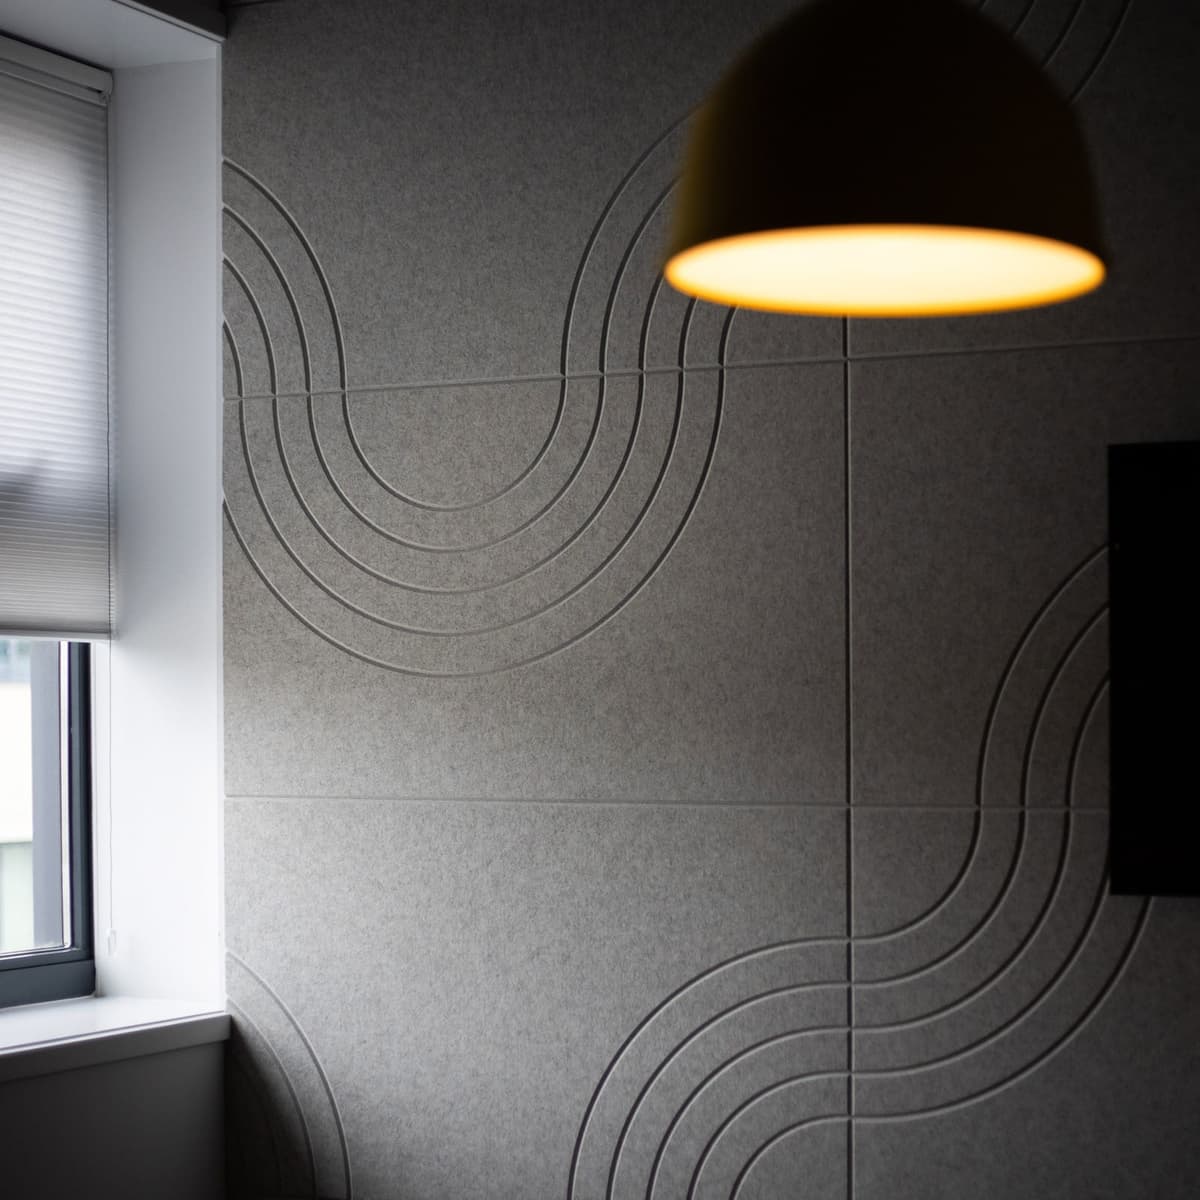
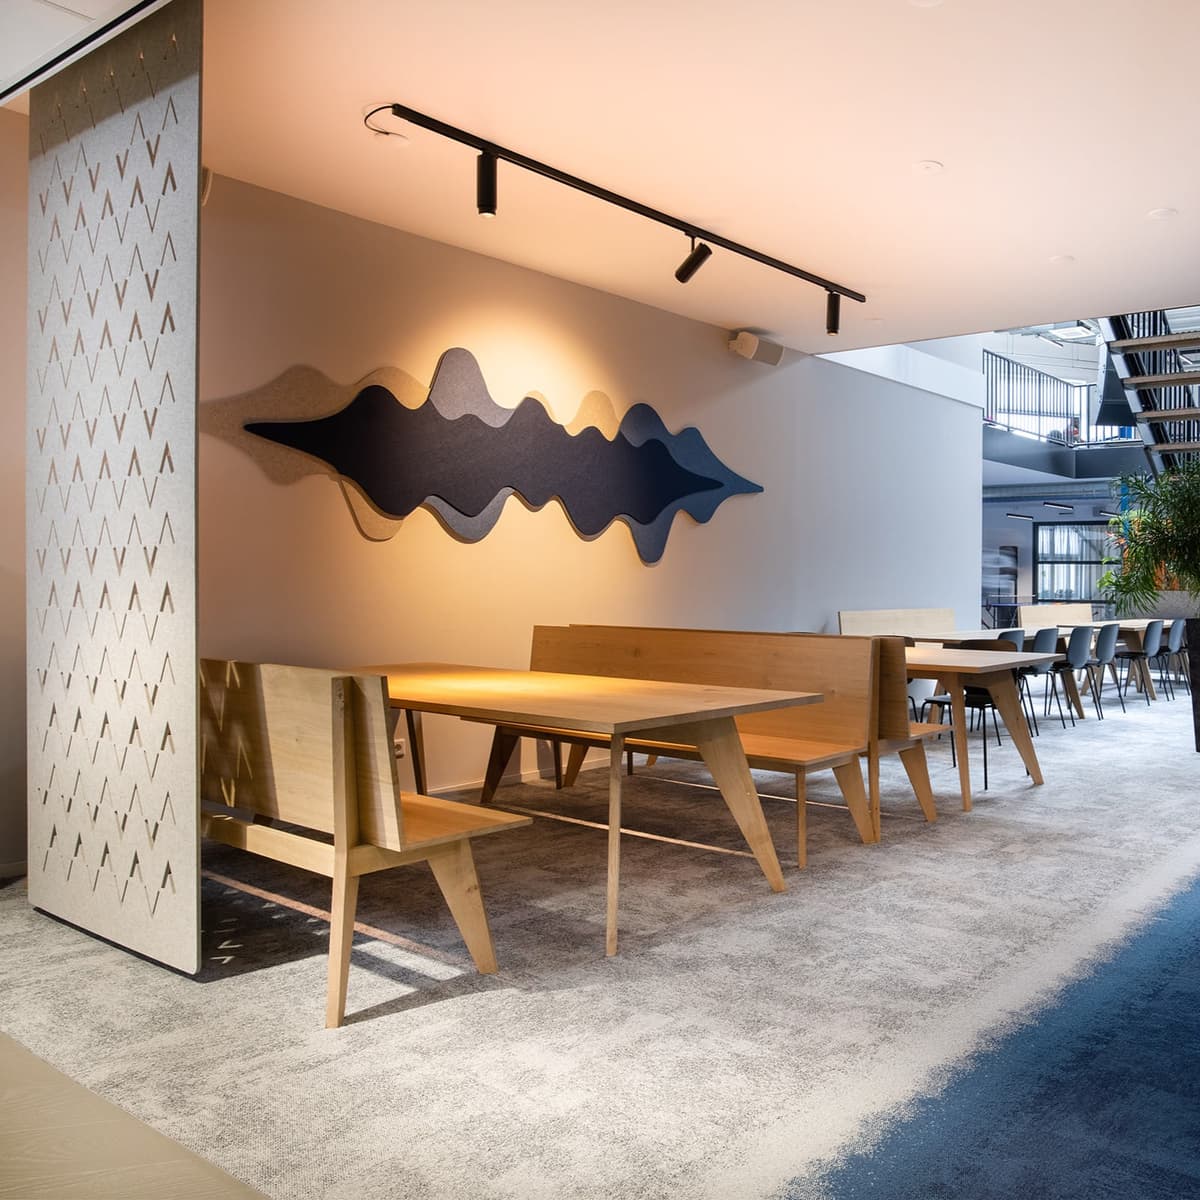
In principle, almost any shape is possible with PET felt, but the way of cutting determines what works best technically.
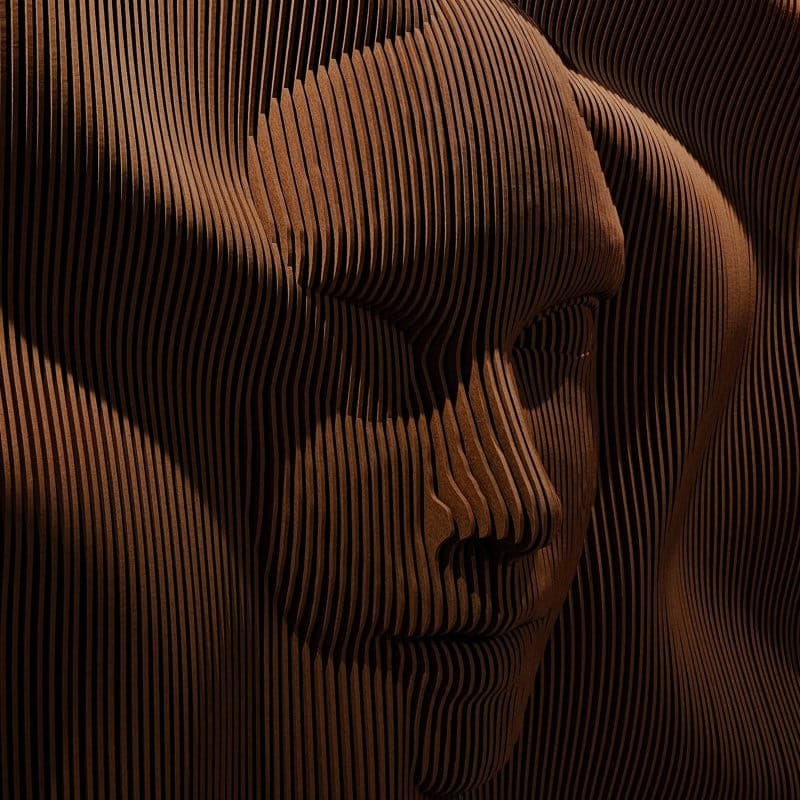
Choose clear, well-defined shapes
V‑cut:
- Suitable for grooves, lines, patterns and folded elements
- Avoid too sharp corners, anything sharper than 90° results in a less clean cut
- Organic shapes are fine, as long as the rounding is sufficiently broad
Thru‑cut (completely through cut):
- Perfect for cut-out shapes and panels
- Small radii can cause problems, especially with truly round shapes
- The finer the detail, the more important it is that the radius does not become too small
In short: almost any shape is possible, as long as the corners and radii are not extremely sharp or small. This keeps the final result crisp, clean, and easily reproducible.
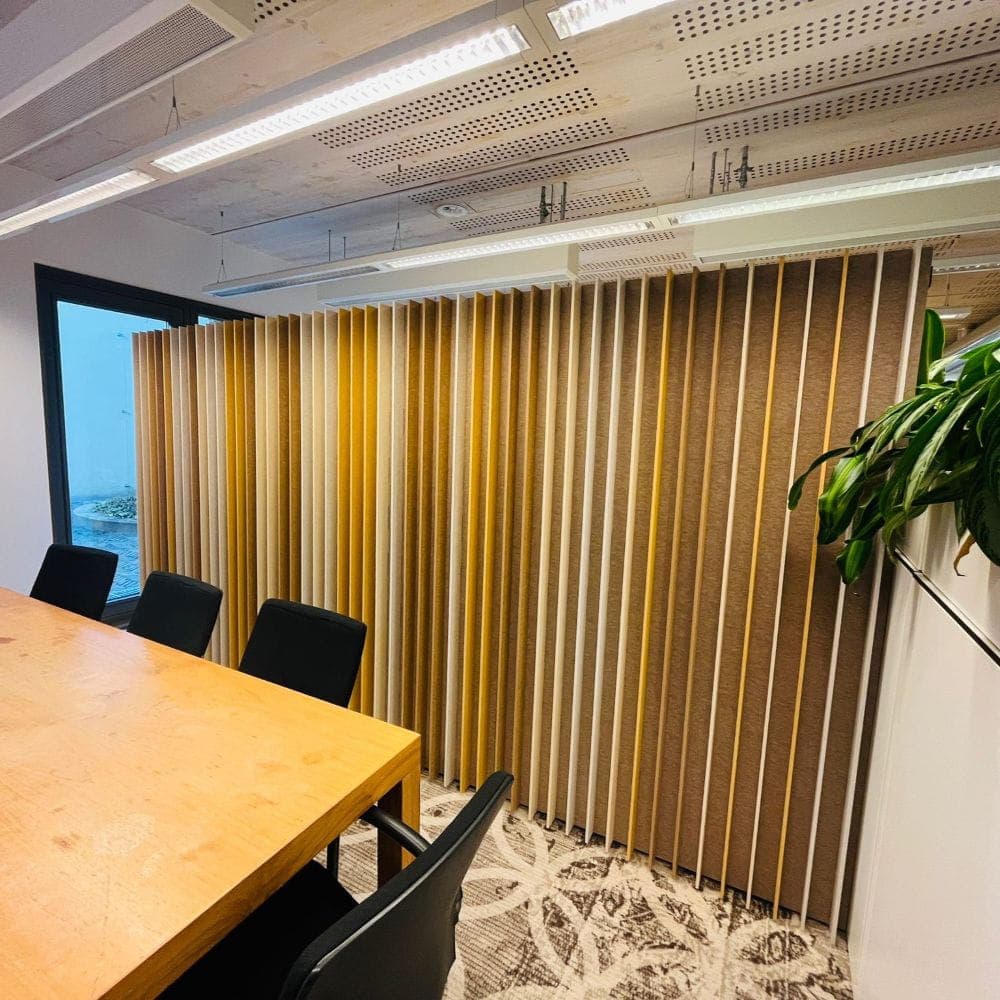
Think beforehand about assembly
The ideal hanging method depends on the weight of the panel, its shape, the surface, and whether or not the wall can be damaged. It also matters how easy the installation should be. We are happy to advise you on the best solution for your project; feel free to contact us if you have any questions about this.
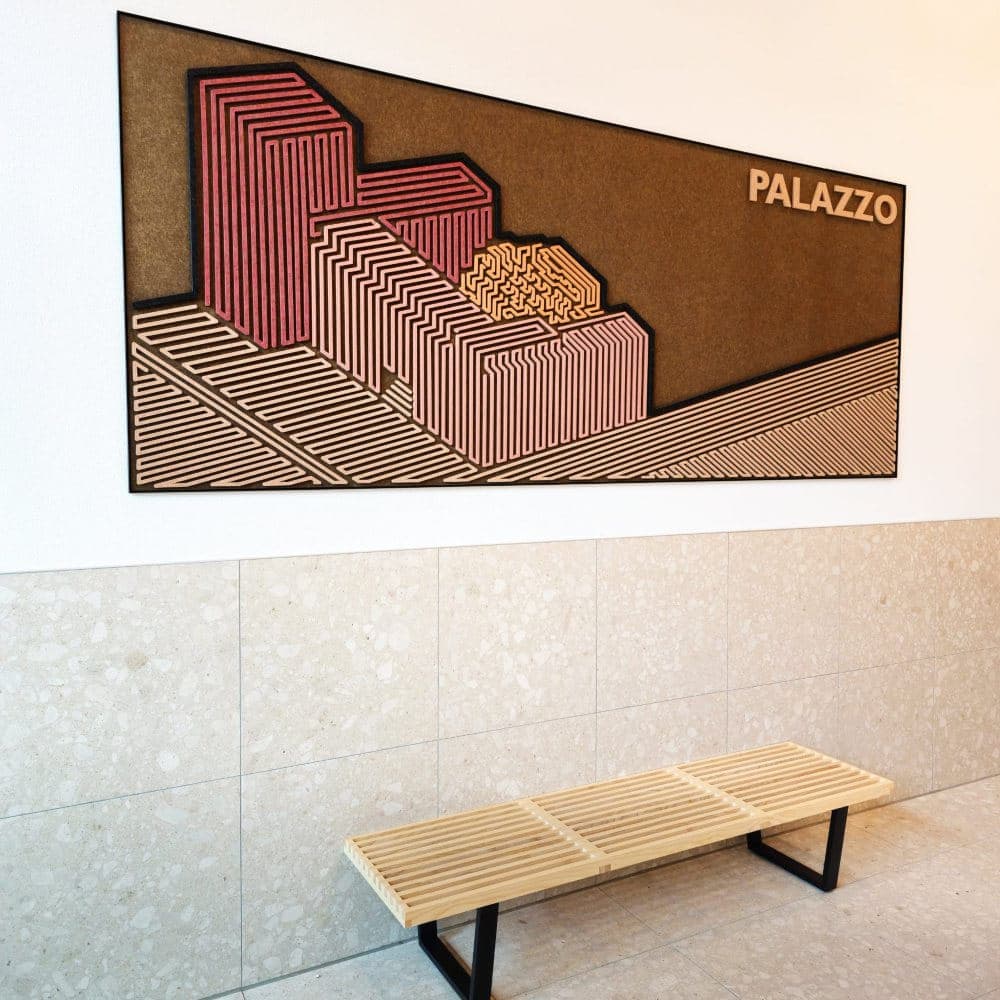
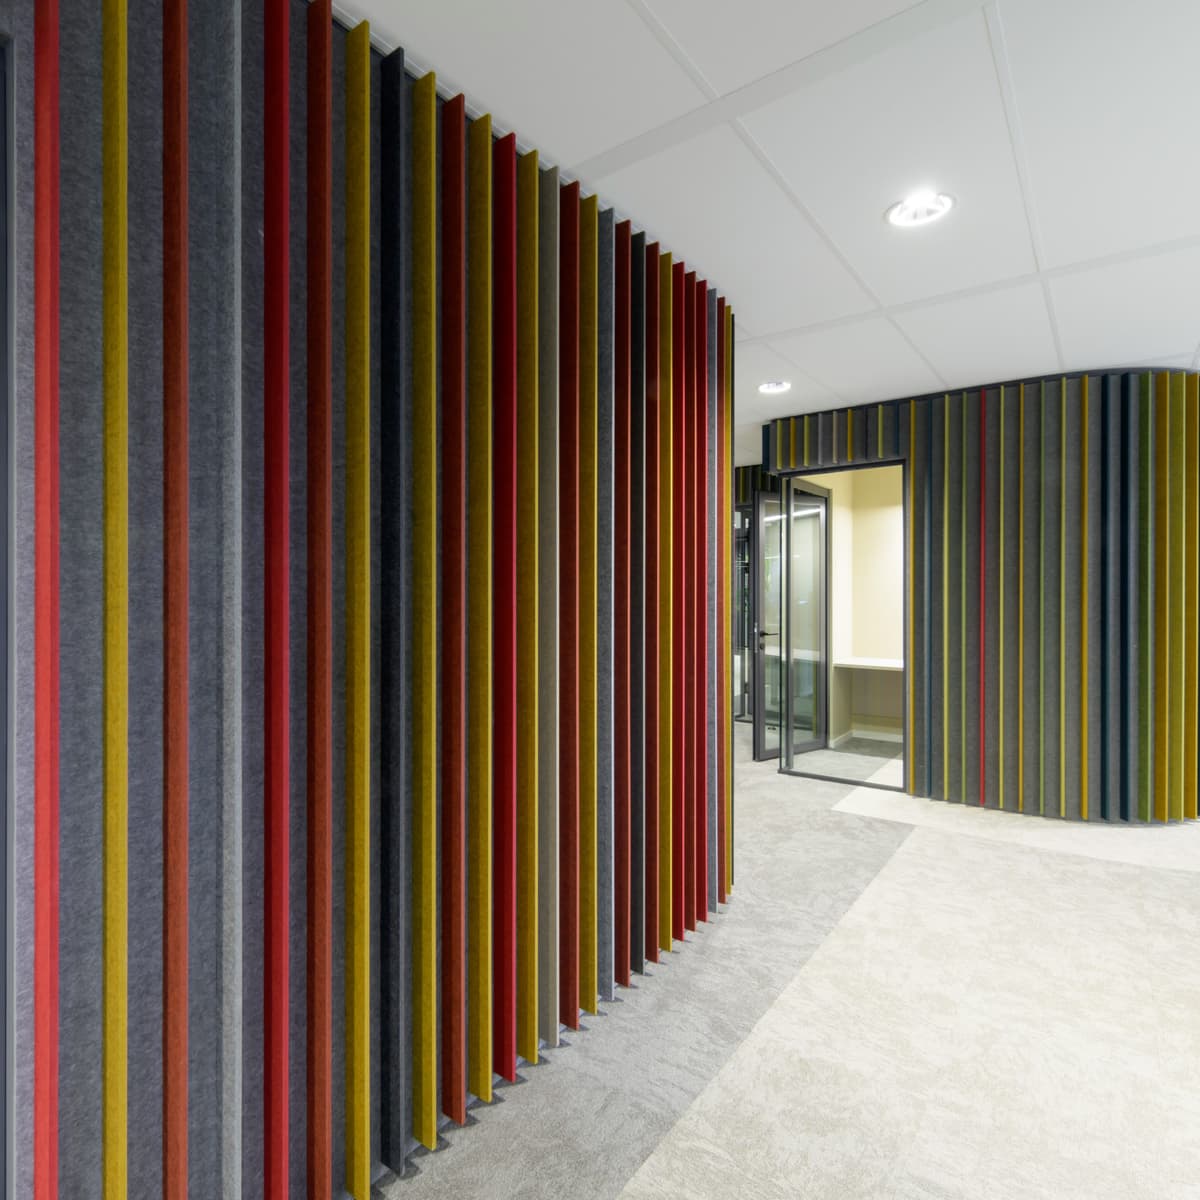
Combine colors consciously
Whether you want to create contrast or work tone-on-tone: testing beforehand with samples always provides certainty.
5. Common mistakes (and how to avoid them)
Open lines in the drawing
This ensures that shapes cannot be fully cut out. Always check that all paths are closed.
Very fine details
Too thin or long narrow parts or elements of a drawing lose their shape during cutting.
Useful guidelines for thru-cut:
- Minimum 3 mm between parts for smaller, compact details
- Minimum 10 mm for long, narrow strips, especially when they are provided with an adhesive backing
- Unsure? Please contact us!
This margin keeps PET felt looking neat and firm.
Do not include installation or tax considerations
Large or pronounced shapes behave differently than small simple panels. Some shapes simply require extra support or a different mounting technique.
Provide low-resolution images
A JPG or PNG seems quick and easy, but is not suitable for us to create an accurate cutting pattern. We then have to trace lines manually, which takes a lot of time and never achieves the same precision as a vector.
What we do need:
- DXF
- DWG
- SVG
- AI
- PDF (vector)
With a good vector file, we can get started immediately, and every detail remains exactly as you intend.
No scale indication
A beautiful design only comes into its own when the sizes are correct. With images (such as JPG or PNG), scale information is often completely missing, which often leads to misunderstandings.
Good to know:
- In vector files the dimensions are usually already stored correctly
- Nevertheless, it is always advisable to explicitly specify the final size
- This prevents panels from ending up too large or too small
6. From idea to realization: we think along with you
Whether you have a fully detailed plan or just a rough sketch: we are happy to help translate your design into sleek PET felt panels. With our experience in custom projects, we not only consider what looks good but also what works.
Do you want to get started with your design, or do you have any questions? Feel free to let us know, we’re happy to think along with you.
Looking for inspiration for your project?
Get inspired here!